The tempering process
Tempering takes an ordinary sheet of annealed glass and makes it four to five times stronger, not by adding anything, but by locking a hidden pattern of stress into it. Get the recipe right and you get safety glass. Get it slightly wrong and you get bow, haze, or a lite that explodes on the sword. Here is what actually happens between the loading table and the quench.
Why tempering works: stress engineering
Here is the one fact that makes all of this click: glass fails in tension, not compression. You can push on glass surprisingly hard, but pull it apart and it gives up quickly. When something loads a pane, a thrown rock, a wind gust, a sharp temperature difference, the face opposite the load stretches into tension. The moment that tension exceeds what the surface can hold (and that limit depends entirely on how scratched-up the surface already is), a crack starts and runs across the pane in a blink.
Tempering beats this by cheating. It pre-loads both glass surfaces in compression, roughly 10,000 to 15,000 psi (69 to 103 MPa) for fully tempered glass. Before any real-world load can stretch the surface into tension, it first has to cancel out all of that built-in squeeze. That is the whole trick: you are not making the glass tougher so much as giving it a big head start before it can even begin to fail.
There is no free lunch, though. If the surfaces are in compression, the core has to be pulling the other way, and it is, sitting in about 3,500 to 5,000 psi of tension. That trapped energy is why tempered glass does not just crack when it finally lets go: it dices itself into a shower of small blunt cubes as all that stored tension releases at once.
Step by step through the furnace
The whole cycle is really just heat it evenly, then cool the outside far faster than the inside. Four stages, and the entire game is in the timing.
Tempering vs heat strengthening
Same furnace, same glass, one dial turned down. Heat strengthening runs the exact same cycle but eases off the quench, a gentler air blast and a slower cool. Dial the surface compression down to roughly 3,500 to 7,500 psi (versus 10,000 to 15,000 for tempered) and you get a different animal: about twice as strong as annealed rather than four to five times, and it breaks into large, hangs-together shards instead of the tiny cubes of tempered. That larger break pattern is a feature, not a bug, it is exactly what you want in a laminated makeup where the glass needs to stay put after it cracks.
Roller wave and anisotropy
Because glass passes through the furnace on rollers while softened, two optical side effects are introduced:
Roller wave
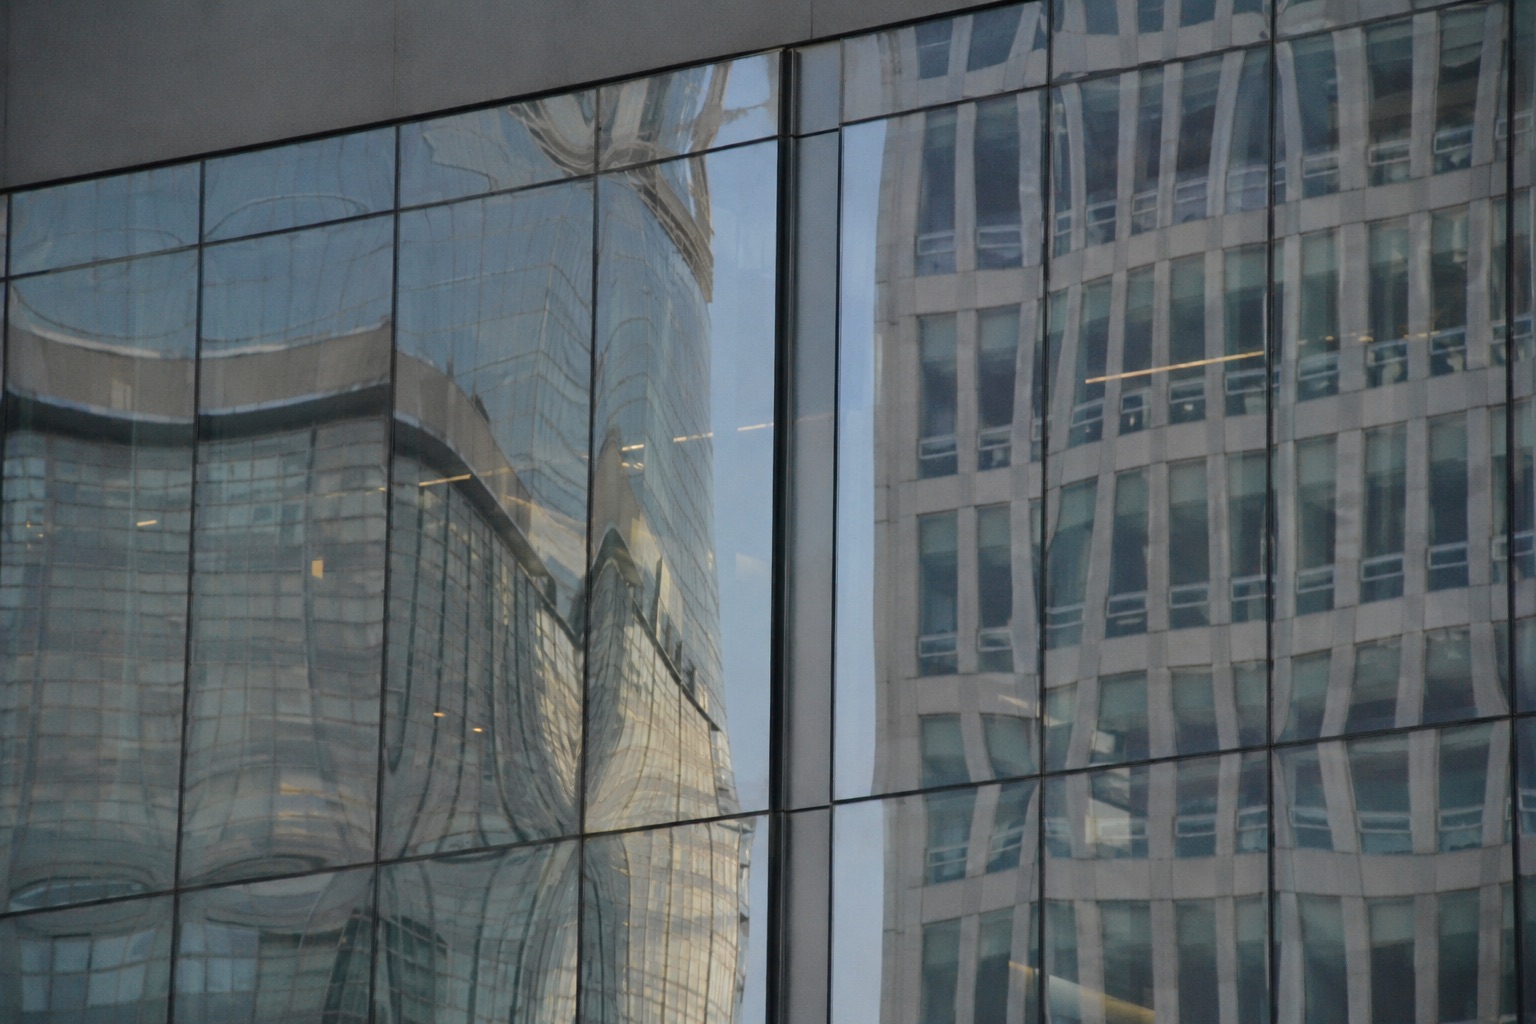
Roller wave is a periodic ripple in the glass surface, distinct from overall bow. It happens in the last moments of heating, when the glass is hot and pliable enough to take a permanent shape from the rollers it's resting on. A ceramic roller that's slightly out of true (high "TIR," or total indicated run-out) pushes the soft glass upward once per rotation as it passes underneath, and because of that, the peak-to-peak spacing of the resulting wave matches the circumference of the offending roller, which is a useful diagnostic when tracking down which roller needs replacing. Under raking light, particularly on reflective facades, roller wave creates visible horizontal banding across the glass. Running the glass cooler reduces roller wave (the glass holds its shape better against the rollers), but trades off against a higher risk of breakage once the rapid quench begins, so furnace operators have to balance the two.
Anisotropy (iridescence)
The non-uniform stress distribution introduced by the quenching process causes anisotropy, regions of slightly different refractive index corresponding to the stress pattern. When viewed through polarized light (like polarized sunglasses, or the polarized light of a blue sky), these stress patterns appear as colorful iridescent patterns across the glass surface. This is a physical characteristic of all thermally tempered glass and is not a defect. However, it is considered aesthetically undesirable in some applications and can be minimized (not eliminated) through furnace optimization. Chemical tempering (ion exchange) produces anisotropy-free glass but is expensive and limited in size.
White haze and the "lensing" defect
If one face of the glass heats faster than the other during the heating cycle (commonly because the lower surface picks up extra heat by conduction from the rollers), that surface expands and elongates more than the opposite face, causing the lite to bow while it's still in the furnace. Because a bowed lite only contacts the rollers along a narrow central band, the entire weight of the glass concentrates onto that small contact area, sometimes hard enough to leave a white haze mark or, in severe cases, slightly deform the contact zone, visible afterward as a subtle "lensing" optical distortion when viewed at an acute angle. Low-E coated glass is more prone to this because the coating reflects infrared energy away rather than absorbing it, widening the temperature gap between the coated and uncoated faces unless the recipe compensates with extra heat input to the upper surface.
Edge curl on coated glass ("picture frame" effect)
The cut edges of a lite are always bare glass, even on a coated product, because coatings don't extend to the very edge. Bare glass edges absorb infrared radiation more readily than the coated face, so the perimeter of a coated lite tends to run hotter than the coated centre during heating. After quenching, that edge-to-centre temperature difference can leave the edges curled slightly relative to the body of the glass, sometimes described as a "picture frame" effect, which is one more reason coated glass recipes are tuned differently from clear glass recipes of the same thickness.
Surface compression testing
All of this is invisible, so how do you prove a lite is actually tempered and not just warm? You measure the stress. ASTM C1048 sets the bar: fully tempered glass has to reach at least 10,000 psi (69 MPa) of surface compression, or a minimum of 9,700 psi (67 MPa) at the edge. Three ways to check it, two of which do not break the glass:
- Scattered light polariscopy (SCALP): A non-destructive optical technique that measures the depth of the compression layer. Most accurate commercial method.
- Grazing angle surface polarimetry (GASP): Another non-destructive optical method.
- Fracture pattern test: Destructive, a tempered panel is broken with a center punch and the number of fragments in a 50×50mm area is counted. ASTM C1048 requires a minimum of 40 fragments in this area for fully tempered glass.